Tomcat 系列篇九-介绍下 Tomcat 里的 ContainerBase
前面介绍过 Tomcat 的层次结构,1
2
3
4
5
6
7
8
9
10
11<Server>
<Service>
<Connector />
<Connector />
<Engine>
<Host>
<Context />
</Host>
</Engine>
</Service>
</Server>
参考这个 xml,而对于这些组件中,有一类有相同的基类,也就是这次要介绍的 ContainerBase,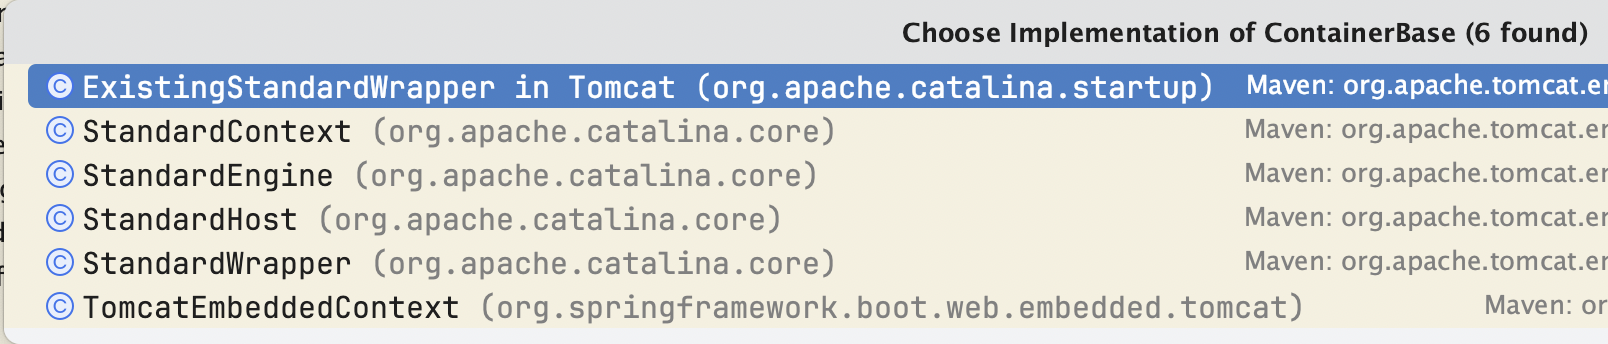
包括 engine,host,context 还有 wrapper ,都是同样的容器组件,
而他们共同实现的接口就是 Container ,
主要包含了1
2
3
4
5
6
7
8
9
10
11
12
13
14
15
16
17
18
19
20
21
22public static final String ADD_CHILD_EVENT = "addChild";
/**
* The ContainerEvent event type sent when a valve is added
* by <code>addValve()</code>, if this Container supports pipelines.
*/
public static final String ADD_VALVE_EVENT = "addValve";
/**
* The ContainerEvent event type sent when a child container is removed
* by <code>removeChild()</code>.
*/
public static final String REMOVE_CHILD_EVENT = "removeChild";
/**
* The ContainerEvent event type sent when a valve is removed
* by <code>removeValve()</code>, if this Container supports pipelines.
*/
public static final String REMOVE_VALVE_EVENT = "removeValve";
这几个事件类型,1
2
3
4
5
6
7
8
9
10
11
12
13public Pipeline getPipeline();
public Container getParent();
public void addChild(Container child);
public Container[] findChildren();
public int getStartStopThreads();
public void setStartStopThreads(int startStopThreads);
包括 pipeline 和获取 parent,添加 child 跟查找 child,然后设置线程池的线程数等
而对于 ContainerBase
也包含了 Lifecycle 的常规方法1
2
3
4
5
6
7
8
9
10
11
12
13
14
15
16
17
18
19
20
protected void initInternal() throws LifecycleException {
reconfigureStartStopExecutor(getStartStopThreads());
super.initInternal();
}
private void reconfigureStartStopExecutor(int threads) {
if (threads == 1) {
// Use a fake executor
if (!(startStopExecutor instanceof InlineExecutorService)) {
startStopExecutor = new InlineExecutorService();
}
} else {
// Delegate utility execution to the Service
Server server = Container.getService(this).getServer();
server.setUtilityThreads(threads);
startStopExecutor = server.getUtilityExecutor();
}
}
初始化方法主要就是之前讲过的线程池
后面就开始 startInternal1
2
3
4
5
6
7
8
9
10
11
12
13
14
15
16
17
18
19
20
21
22
23
24
25
26
27
28
29
30
31
32
33
34
35
36
37
38
39
40
41
42
43
44
45
46
47
48
49
50
51
52
53
54
55
protected synchronized void startInternal() throws LifecycleException {
// Start our subordinate components, if any
logger = null;
getLogger();
Cluster cluster = getClusterInternal();
if (cluster instanceof Lifecycle) {
((Lifecycle) cluster).start();
}
Realm realm = getRealmInternal();
if (realm instanceof Lifecycle) {
((Lifecycle) realm).start();
}
// Start our child containers, if any
Container children[] = findChildren();
List<Future<Void>> results = new ArrayList<>();
for (Container child : children) {
results.add(startStopExecutor.submit(new StartChild(child)));
}
MultiThrowable multiThrowable = null;
for (Future<Void> result : results) {
try {
result.get();
} catch (Throwable e) {
log.error(sm.getString("containerBase.threadedStartFailed"), e);
if (multiThrowable == null) {
multiThrowable = new MultiThrowable();
}
multiThrowable.add(e);
}
}
if (multiThrowable != null) {
throw new LifecycleException(sm.getString("containerBase.threadedStartFailed"),
multiThrowable.getThrowable());
}
// Start the Valves in our pipeline (including the basic), if any
if (pipeline instanceof Lifecycle) {
((Lifecycle) pipeline).start();
}
setState(LifecycleState.STARTING);
// Start our thread
if (backgroundProcessorDelay > 0) {
monitorFuture = Container.getService(ContainerBase.this).getServer()
.getUtilityExecutor().scheduleWithFixedDelay(
new ContainerBackgroundProcessorMonitor(), 0, 60, TimeUnit.SECONDS);
}
}
这里包括了 cluster 的启动和 realm 的启动,然后将 child 子组件添加到线程池里启动,然后循环 get 结果,接下去就是 pipeline 的启动,设置开始中状态,后面是 ContainerBackgroundProcessor 的启动
然后是停止方法1
2
3
4
5
6
7
8
9
10
11
12
13
14
15
16
17
18
19
20
21
22
23
24
25
26
27
28
29
30
31
32
33
34
35
36
37
38
39
40
41
42
43
44
45
46
47
48
49
protected synchronized void stopInternal() throws LifecycleException {
// Stop our thread
if (monitorFuture != null) {
monitorFuture.cancel(true);
monitorFuture = null;
}
threadStop();
setState(LifecycleState.STOPPING);
// Stop the Valves in our pipeline (including the basic), if any
if (pipeline instanceof Lifecycle &&
((Lifecycle) pipeline).getState().isAvailable()) {
((Lifecycle) pipeline).stop();
}
// Stop our child containers, if any
Container children[] = findChildren();
List<Future<Void>> results = new ArrayList<>();
for (Container child : children) {
results.add(startStopExecutor.submit(new StopChild(child)));
}
boolean fail = false;
for (Future<Void> result : results) {
try {
result.get();
} catch (Exception e) {
log.error(sm.getString("containerBase.threadedStopFailed"), e);
fail = true;
}
}
if (fail) {
throw new LifecycleException(
sm.getString("containerBase.threadedStopFailed"));
}
// Stop our subordinate components, if any
Realm realm = getRealmInternal();
if (realm instanceof Lifecycle) {
((Lifecycle) realm).stop();
}
Cluster cluster = getClusterInternal();
if (cluster instanceof Lifecycle) {
((Lifecycle) cluster).stop();
}
}
也是类似的,只不过停止顺序和刚才开始的顺序反了一下